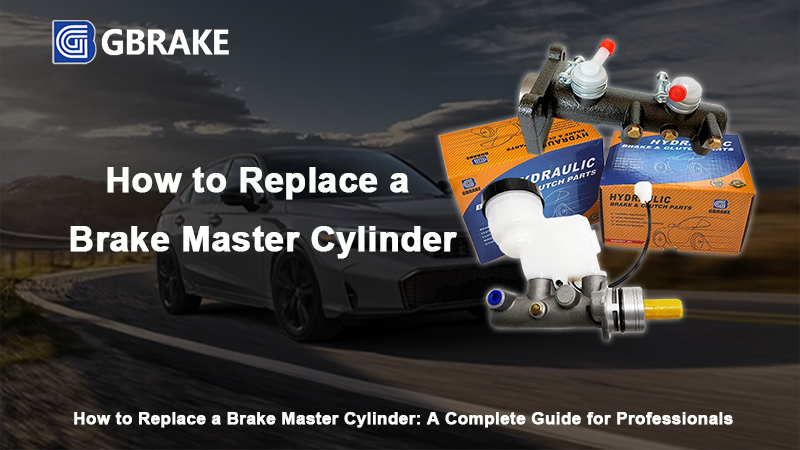
Brake systems are crucial for vehicle safety, with the brake master cylinder being one of the most important components. It transfers the force from the brake pedal to the braking system via hydraulic pressure, allowing your vehicle to stop when you need it to. Over time, the master cylinder can wear out or fail, leading to compromised braking performance. This is why replacing a brake master cylinder is essential for maintaining optimal vehicle safety. In this guide, we’ll walk you through the process of replacing a brake master cylinder and address some complex situations you may encounter.
Preparations for Replacing the Brake Master Cylinder
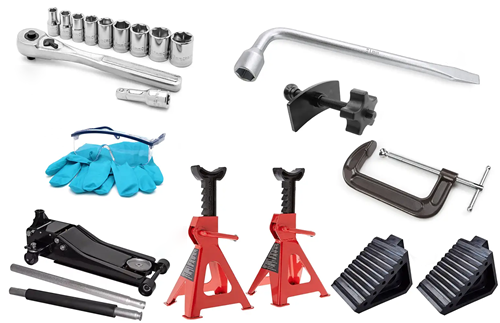
Before you begin replacing the brake master cylinder, make sure you’re fully prepared. Here’s what you’ll need:
Tools and Materials
- Wrenches and screwdrivers
- Brake fluid (DOT fluid or as specified by the manufacturer)
- Fluid catch pan
- Sealant or O-rings (if needed)
- Brake fluid syringe for filling
- Protective gloves and safety glasses
Safety Measures
- Always disconnect the vehicle’s battery before working on any electrical components or sensitive systems like ABS.
- Use a car jack to lift the vehicle safely and support it with jack stands.
- Please wear gloves and safety goggles to prevent contact with harmful chemicals such as brake fluid, which may irritate the skin or eyes.
Steps to Replace the Brake Master Cylinder
Replacing a brake master cylinder requires a systematic approach. Below are the steps, broken down clearly with key points and common mistakes to avoid.
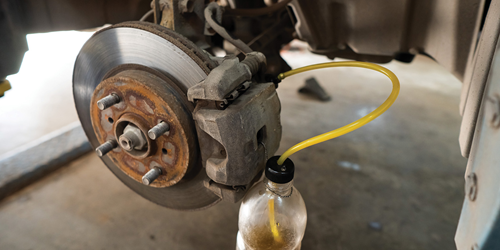
Step 1: Drain the Old Brake Fluid
What to do:
- Use a brake fluid pump or syringe to draw out the old brake fluid from the master cylinder reservoir.
- Dispose of old fluid safely in an appropriate container. Do not spill brake fluid on the car’s paint—it’s corrosive!
Things to keep in mind:
- Make sure no air enters the brake lines during the draining process. If air does get in, you’ll need to bleed the brakes later.
- Always check the fluid levels before moving to the next step.
Common mistakes to avoid:
- Forgetting to clean the fluid spill – Brake fluid can damage paint and other surfaces if not wiped up quickly.
- Not draining enough fluid – If there’s still fluid left in the master cylinder, it could interfere with the installation of the new unit.
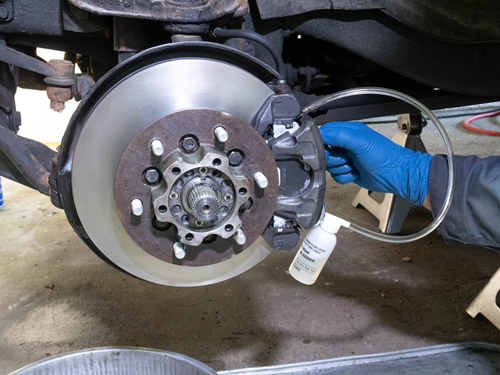
Step 2: Remove the Old Master Cylinder
What to do:
- Separate the brake line from the master cylinder. You may need to use a wrench or a line disconnect tool for this operation.
- Remove the bolts or fasteners holding the master cylinder in place (usually on the firewall).
- Carefully pull the old master cylinder out of its mount.
Things to keep in mind:
- Keep a catch pan under the brake lines to catch any remaining fluid that might leak out.
- Label the brake lines if necessary, so you can easily reconnect them to the new cylinder.
Common mistakes to avoid:
- Not supporting the master cylinder properly – When loosening fasteners, be cautious, as the cylinder may fall or cause damage to surrounding components.
- Stripping brake line fittings – Brake lines are under pressure, so be gentle when disconnecting them to avoid damaging the threads.
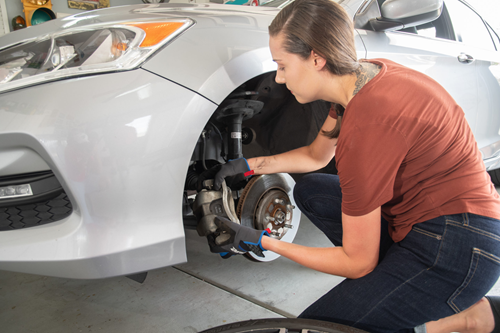
Step 3: Install the New Master Cylinder
What to do:
- Take the new master cylinder and align it with the mounting points.
- Secure it with bolts or fasteners, making sure it’s tight but not overly torqued.
- Reconnect the brake lines to the new brake cylinder. Ensure a tight connection using a wrench, but avoid over-tightening.
Things to keep in mind:
- Check the gasket and seals: Ensure that all seals are properly seated to prevent fluid leaks.
- Ensure proper alignment: The master cylinder should be positioned exactly as the old one was to prevent issues with braking response.
Common mistakes to avoid:
- Over-tightening bolts – This can damage threads or warp the cylinder. Tighten to the manufacturer’s recommended torque specifications.
- Misaligning brake lines – A misaligned line can cause leaks, leading to brake failure.
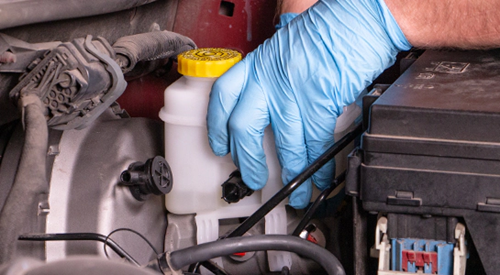
Step 4: Refill and Bleed the Brake System
What to do:
- Fill the master cylinder reservoir with fresh, manufacturer-recommended brake fluid.
- Begin the bleeding process by opening the brake valve farthest from the master cylinder (usually the passenger side rear) and have a helper press the brake pedal.
- Once the fluid runs clear without air bubbles, move to the next brake.
Things to keep in mind:
- Monitor the fluid level closely during bleeding. If the reservoir runs dry, you’ll introduce air into the system, requiring you to start bleeding over again.
- Please follow this order: Start with the wheel furthest from the master cylinder and work progressively toward the nearest wheel.
Common mistakes to avoid:
- Skipping the order – Bleeding the wrong order can leave air in the lines, compromising brake performance.
- Not topping off the fluid – Running the master cylinder reservoir dry while bleeding introduces air, requiring more bleeding.
Step 5: Test the Brakes
What to do:
- Turn the vehicle on and test the braking pedal. When pressed, the foot pedal should feel firm and responsive, not soft or spongy.
- Drive the car cautiously in a safe, controlled environment to ensure proper braking response.
Things to keep in mind:
- A soft brake pedal feel, or one that bottoms out, indicates that air may still be trapped in the braking system, requiring a repeat bleeding procedure.
- Pay attention to any unusual noises or vibrations during testing.
Common mistakes to avoid:
- Ignoring a soft pedal – If the pedal doesn’t feel firm, it’s an indication that the system is not fully bled.
- Skipping the test drive – Always test the brakes in real-world conditions to ensure proper function.
Handling Special Systems and Complex Situations
ABS and ESP Equipped Vehicles
If the vehicle has ABS or Electronic Stability Program (ESP), you can’t simply rely on traditional brake bleeding methods. These systems often need a diagnostic tool to activate the ABS pump and perform a system purge, which removes air from the system.
- Diagnostic tool usage: After installing the new master cylinder, use a scan tool to properly activate the ABS pump.
- Calibrating the system: This step is crucial because failing to activate the ABS could lead to poor braking performance, especially during emergency stops.
Key points:
- Always use manufacturer-approved diagnostic equipment.
- If unsure, consult a professional to avoid system damage or safety risks.
Older Vehicles with Non-Power Brakes
For older cars or those without power-assisted braking, expect greater pedal effort when bleeding the system. These vehicles require more force to evacuate air from the lines, so be prepared for a slower, more manual process.
- Manual effort required: The brake pedal will feel stiffer, and you’ll need to apply more pressure to properly bleed the lines.
- Longer bleeding time: It takes longer to clear the air, so patience is key.
Key points:
- Apply consistent pressure when bleeding the system.
- Don’t rush: Make sure to clear all air bubbles for optimal braking performance.
Conclusion
Replacing a brake master cylinder is a straightforward but essential repair that ensures your vehicle’s braking system works efficiently. By following the correct procedures and handling any complex systems with care, you can provide top-notch service to your customers. Remember, safety always comes first—both for you and your vehicle.
If you’re ever unsure, always consult the vehicle’s service manual or reach out to a professional technician for advice. A properly maintained brake system is crucial for safe driving, and as a professional, you’ll be able to offer your clients the expertise they need.